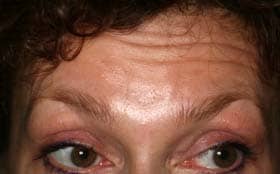
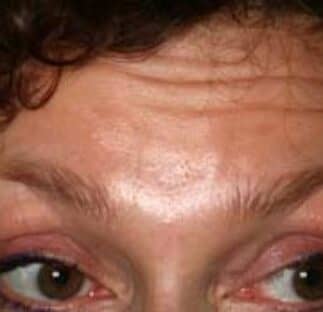
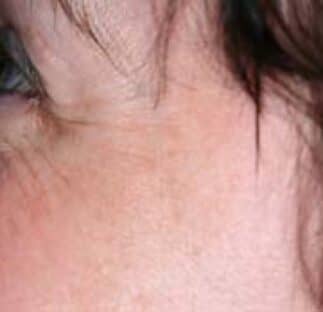
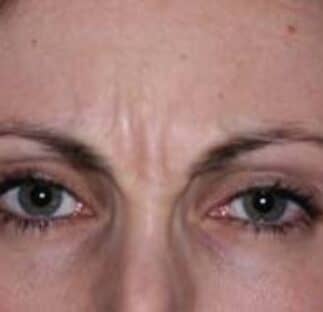
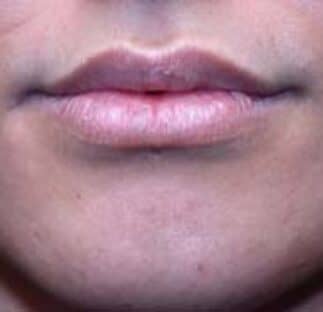
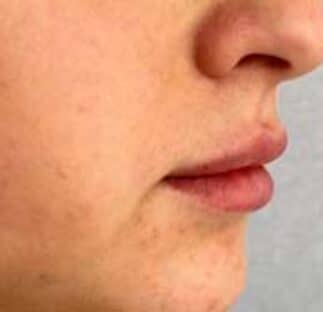
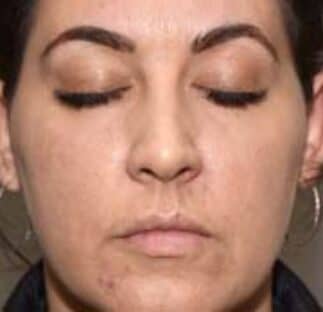
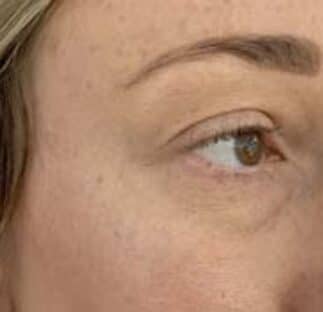
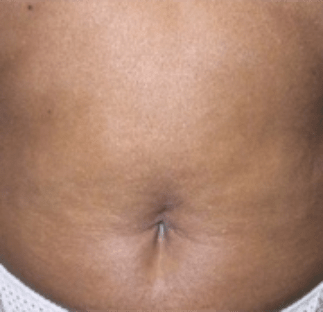
Before
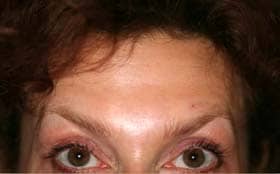
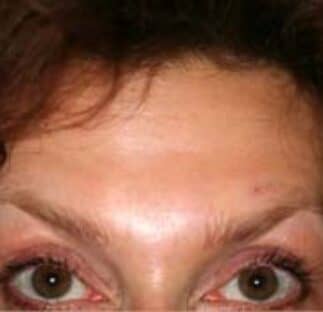
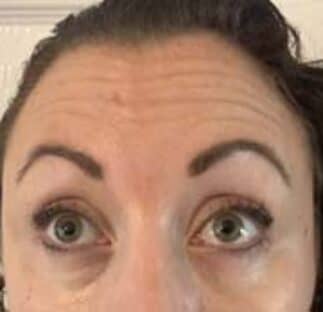
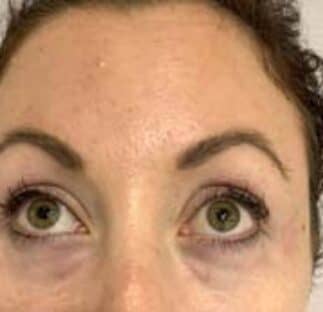
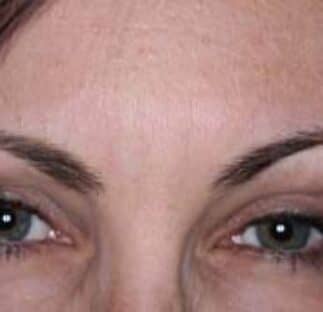
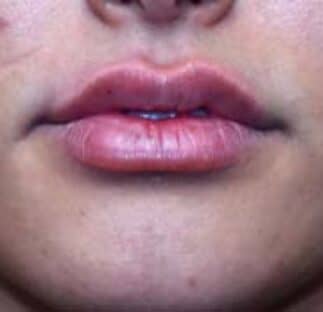
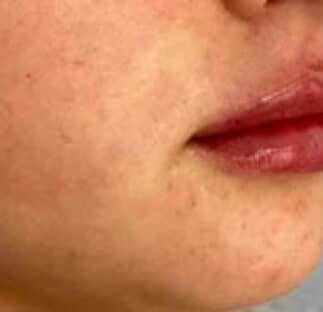
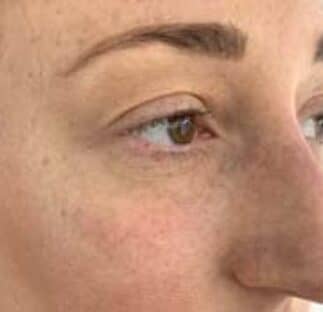
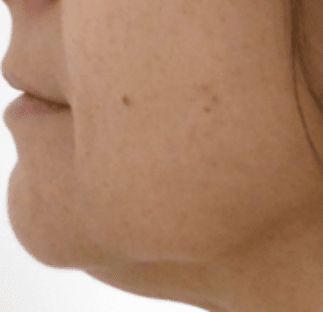
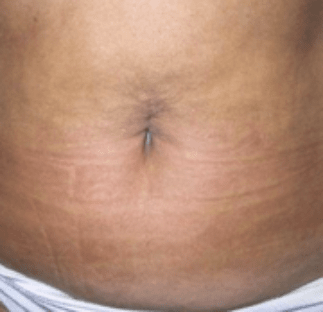
AFTER
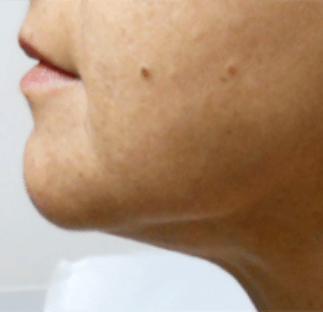
Botox Case 1
Beth* wanted anti-wrinkle treatment to lessen the appearance of fine lines and wrinkles on her forehead.
Beth* opted to come to Aesthetics Life for revitalising Botox** treatment. Treatment takes up to two weeks to take full effect and we offer a free two-week review to ensure the treatment has worked. When Beth* came back for her free anti-wrinkle treatment review she was delighted with the results.
Read more about anti-wrinkle treatments here.
**We use anti-wrinkle treatment.
*Name changed.
Would you like to achieve a similar result? Call us today on: 01438 300 111
Visit Instagram for more before and after photos here
BACK TO TransformationsMore Transformations
Before
AFTER
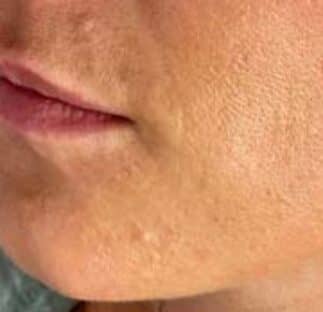
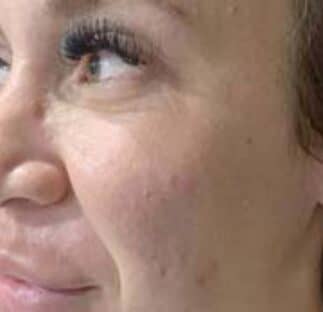
Before

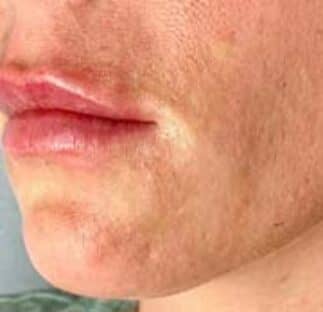
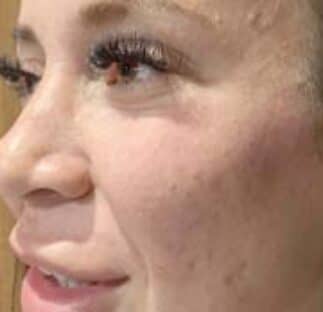
AFTER
Before
AFTER
Before
AFTER
Before

AFTER
Before
AFTER
Before
AFTER
Before
AFTER
Before
AFTER
Before

AFTER

Before

AFTER
Before
AFTER
Before
AFTER
Before
AFTER